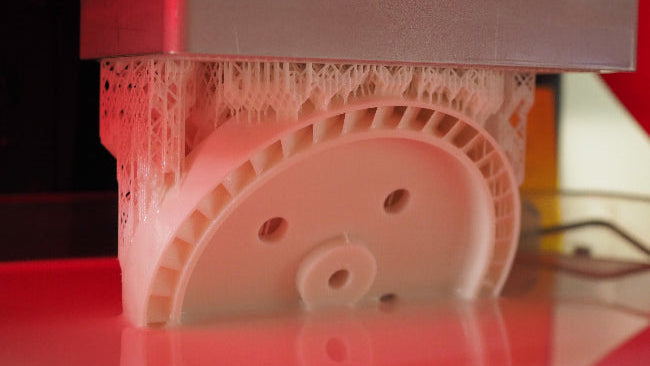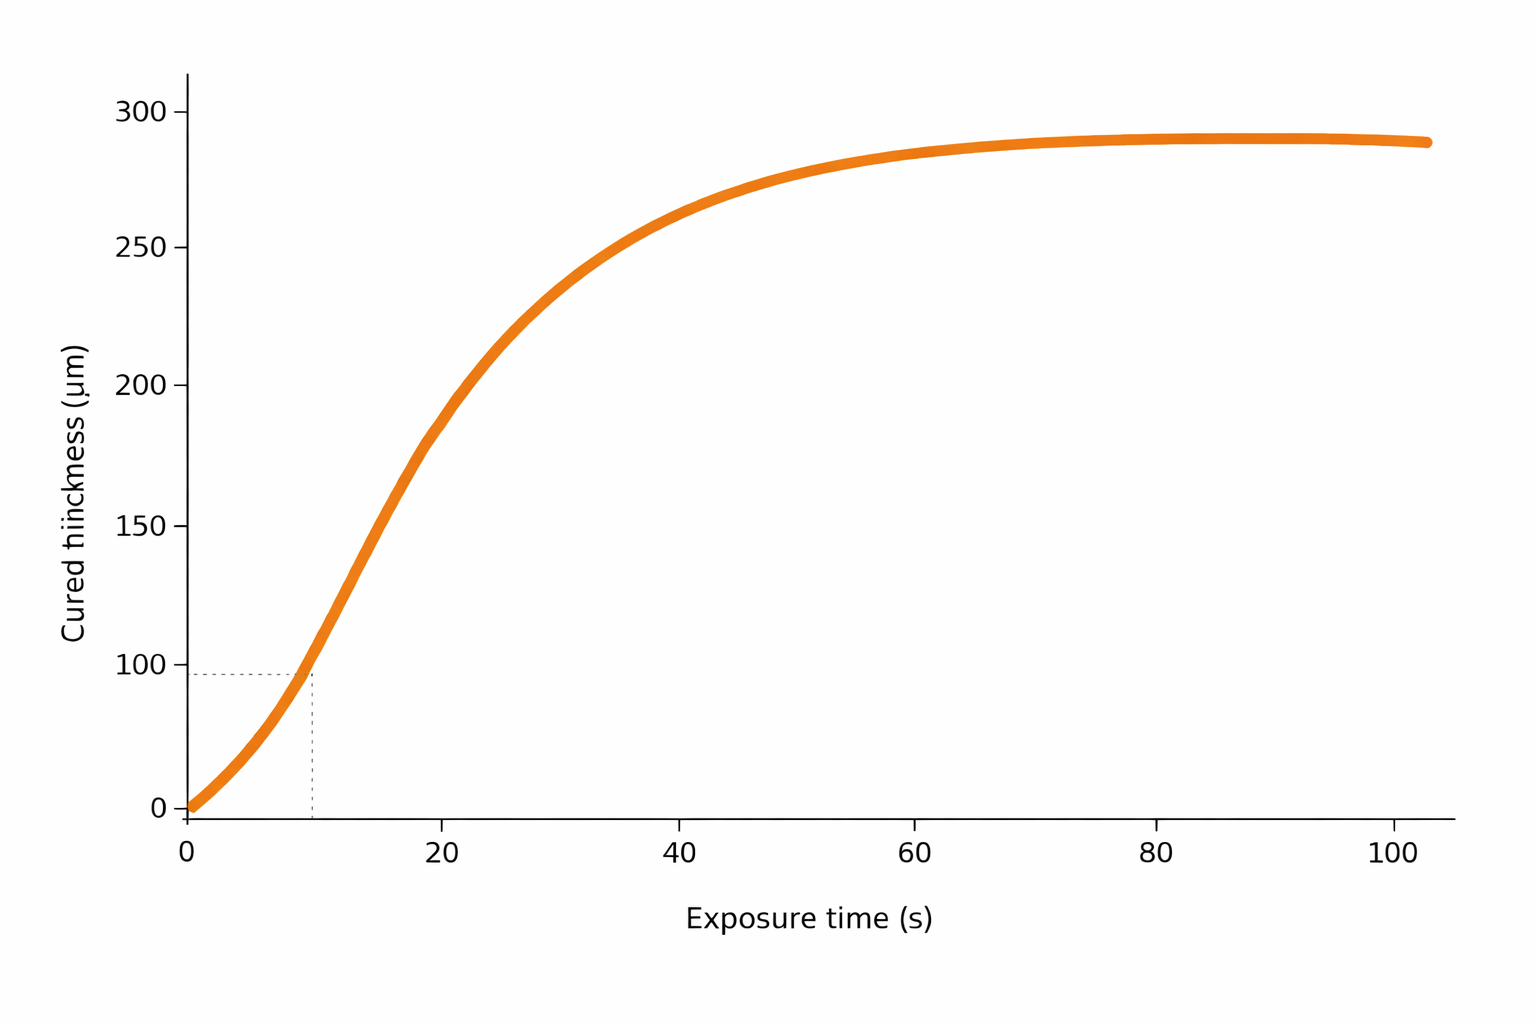
3Dresyns is the first and only company, up to date, that supplies scientific Instructions for Use IFU and calibration files (see the flat coin with supports above) for measuring and optimizing dimensional accuracy in the three dimensions: x, y, and z.
Alternative calibration files often focus only on xy resolution, ignoring that any 3D object requires verification of dimensional accuracy in all three spatial dimensions.
Definitions
- Resolution refers to the range of detail (minimum feature size) that can be printed with fidelity. On the flat coin, resolution can be evaluated by identifying the smallest concentric circle line that is clearly printed. Each circle has engraved width and depth values (from 500 down to 2 microns) and a micron label in relief.
- Precision refers to repeatability: the capability to print the same dimensions over and over again with limited variation.
- Dimensional accuracy refers to how close the printed x, y, and z dimensions are to the theoretical x, y, and z dimensions defined by the design stl files.
Important: highly precise prints are not necessarily accurate unless the three printed spatial dimensions match the three theoretical dimensions defined in the STL design.
How to measure dimensional accuracy with the flat coin
The 3Dresyns flat coin STL file has a nominal thickness of 2 mm (excluding the raised micron text) and a nominal diameter of 25 mm (xy).
Dimensional accuracy is obtained by measuring:
- Z accuracy: real printed thickness vs 2 mm nominal thickness
- XY accuracy: real printed diameter vs 25 mm nominal diameter
Worked examples (relative error and accuracy)
-
Z axis example
If the printed thickness is 2.1 mm, the difference from nominal is 0.1 mm.
Relative error = (0.1 / 2) × 100 = 5%
Inaccuracy = 5% and accuracy = 95% in the z axis. -
XY axis example
If the printed diameter is 25.25 mm, the difference from nominal is 0.25 mm.
Relative error = (0.25 / 25) × 100 = 1%
Inaccuracy = 1% and accuracy = 99% in the xy axis.
Resolution vs precision vs accuracy (visual summary)

For the flat coin calibration file, resolution is read from the smallest concentric circle that is printed cleanly and from the micron labels in relief.

Key takeaways
- Resolution describes the smallest feature size you can print.
- Precision describes repeatability across multiple prints.
- Dimensional accuracy describes closeness to the nominal STL dimensions in x, y, and z.
- Proper calibration should evaluate accuracy in three dimensions, not only xy feature visibility.


